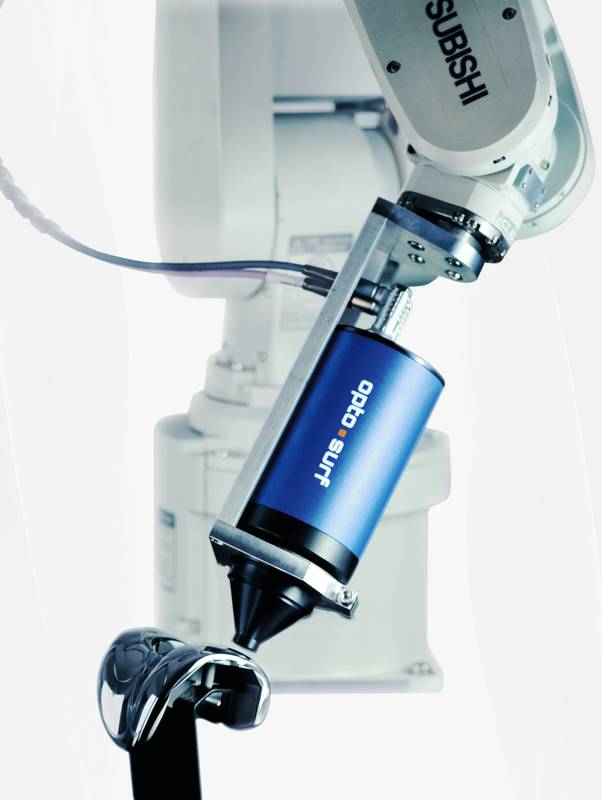
Modern, highly accurate robotic systems are a critical component of successful process automation projects. The sensor’s lack of sensitivity allows for measuring finely machined surfaces in the submicrometric range using a robot arm. This is mounted directly on the mounting plate and all six axes can be used. Thanks to this unique combination, it is possible to measure large parts, sometimes even with complex geometry.
The measurement program is defined and recorded in the OptoSurf software, which connects to a software interface of the robot. To start a measurement, a trigger signal is used.
Roughness measurements are not influenced by the oscillations emitted by the robots.
Flexibly programmable
Can be used as a separate robotic cell or in the production line.
Automation interface (Beckhoff TwinCat, Profibus/-net)
Excellent reproducibility of measurements
Depending on the application, single point or full surface scans can be performed for 100% control.
Automated process control
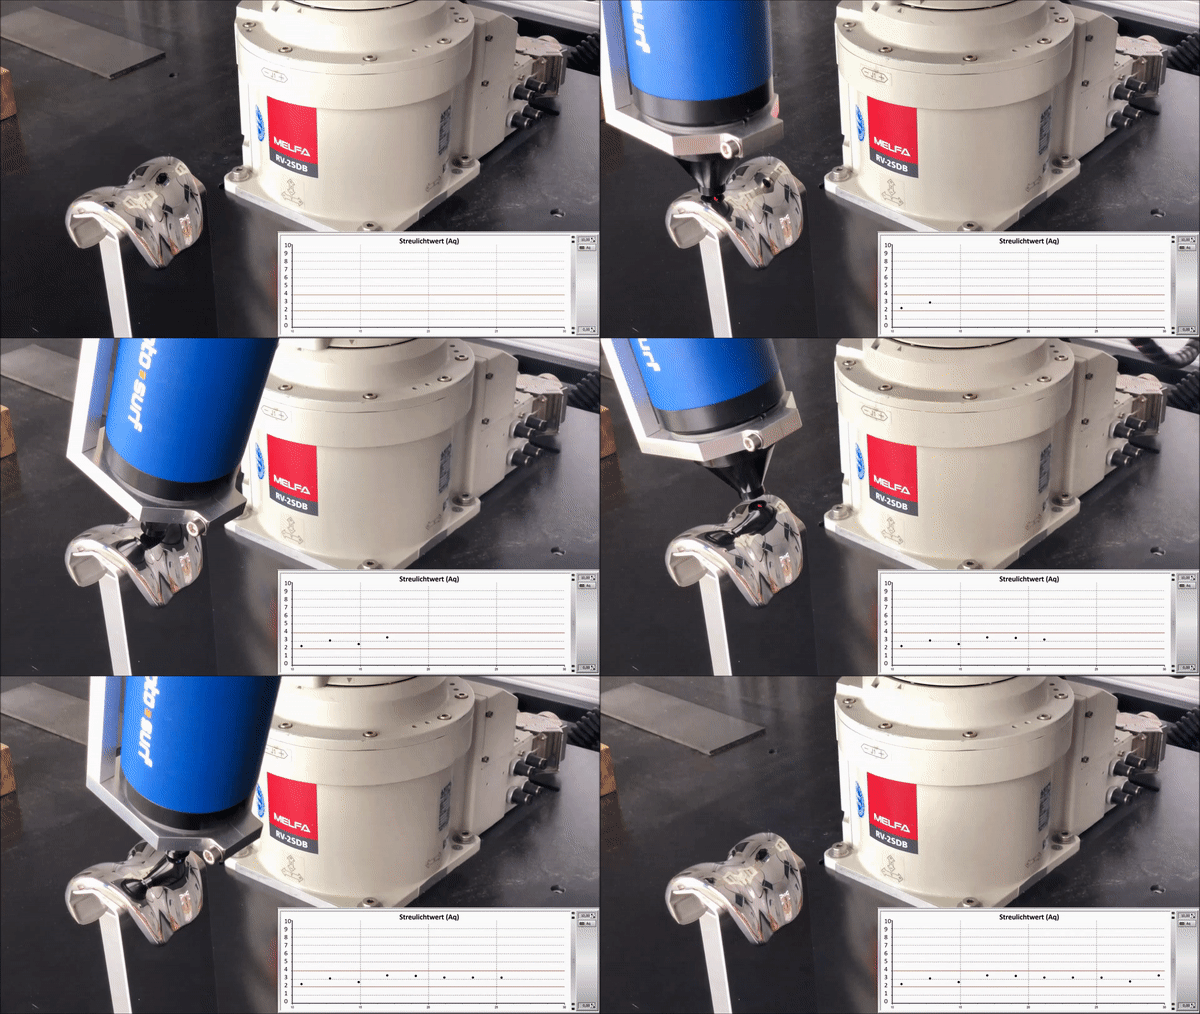
To evaluate production processes based on measurement data, a scattered light sensor can be used for quality and process control in combination with a robotic arm. In a matter of seconds, the robot arm can access and analyze particularly relevant points in parts such as artificial joints, crankshaft bearings, integrated circuit connection grids or painted surfaces. By measuring several points on a piece, it is possible to draw statistical conclusions about the surface quality. By performing 50 repeated spot measurements on an artificial knee joint, OptoSurf was able to demonstrate a reproducibility of s = 0.0078.
Scanning surfaces with a robot
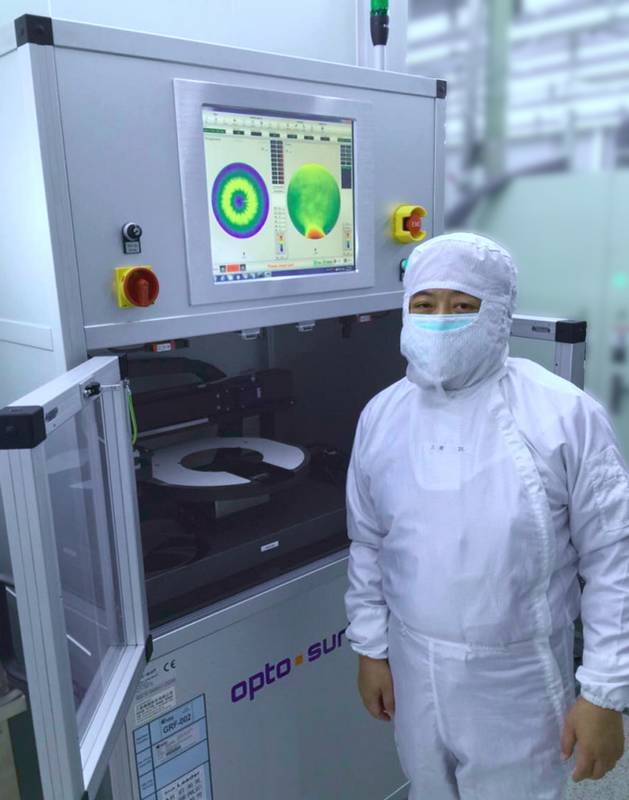
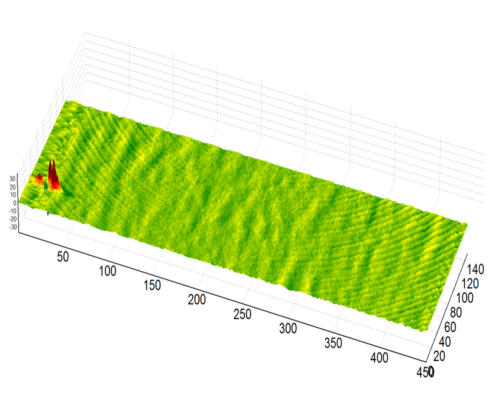
Even entire surfaces can be measured with a robot. This is achieved with linear movements and a shift that is programmable according to the degree of detail required. The 3D SW software merges data and displays it as a map. This 3D mapping allows conclusions to be drawn about process homogeneity or visual gloss effects, for example.

