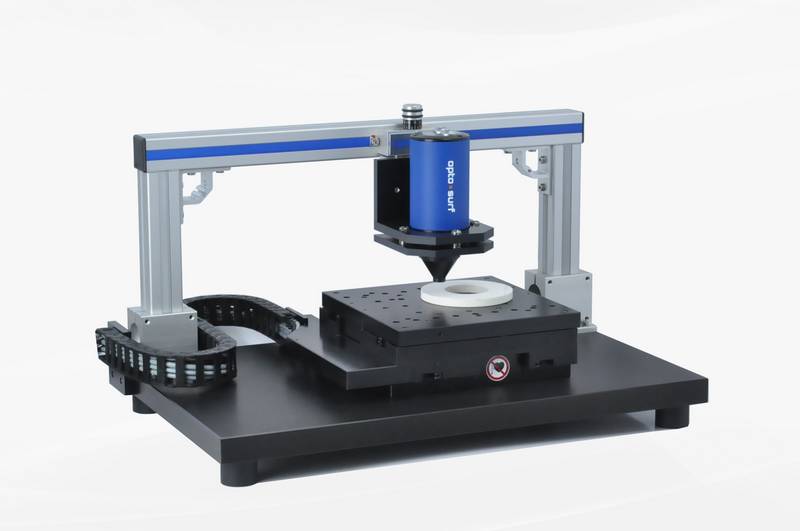
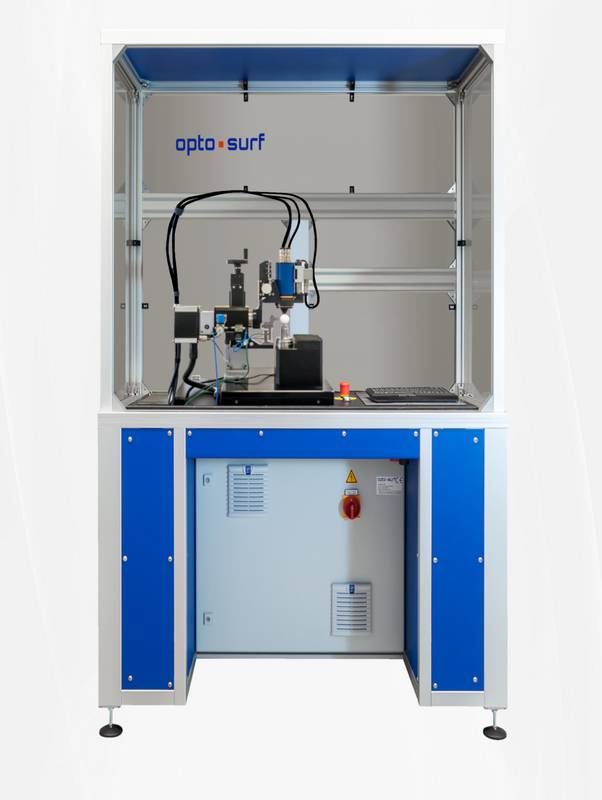
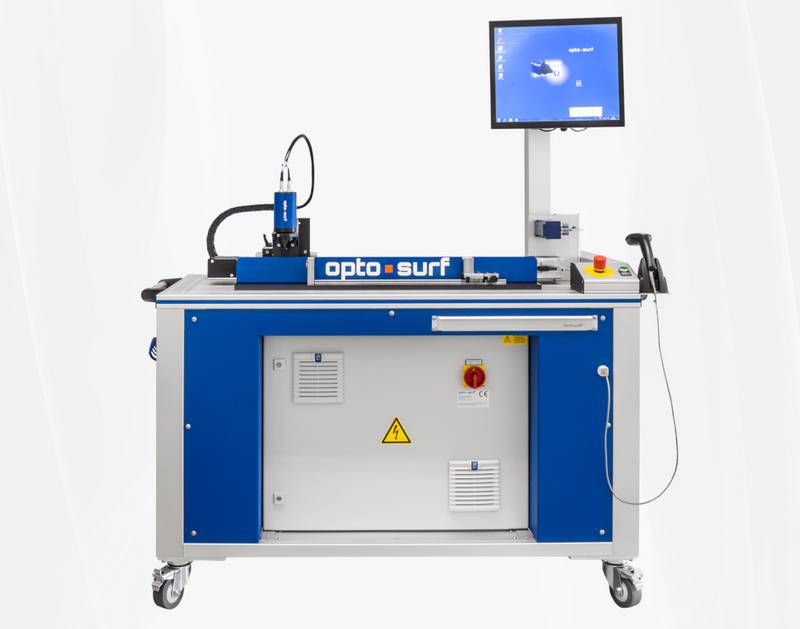
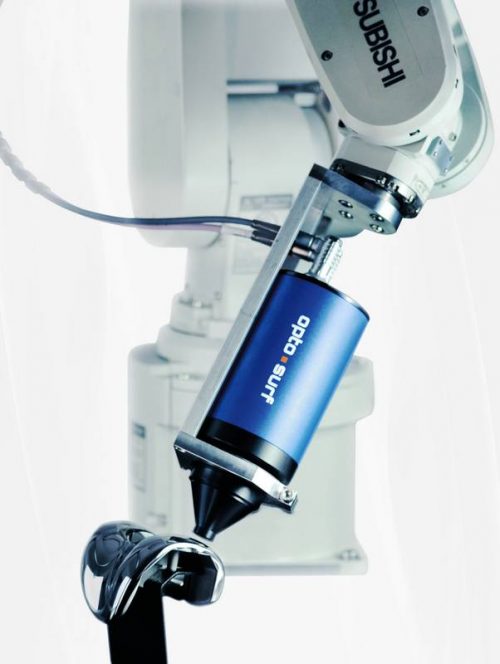
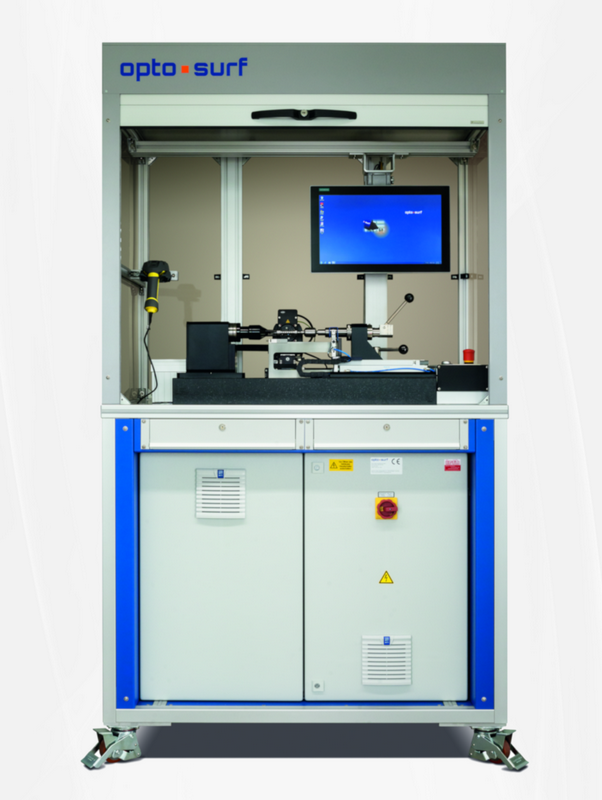
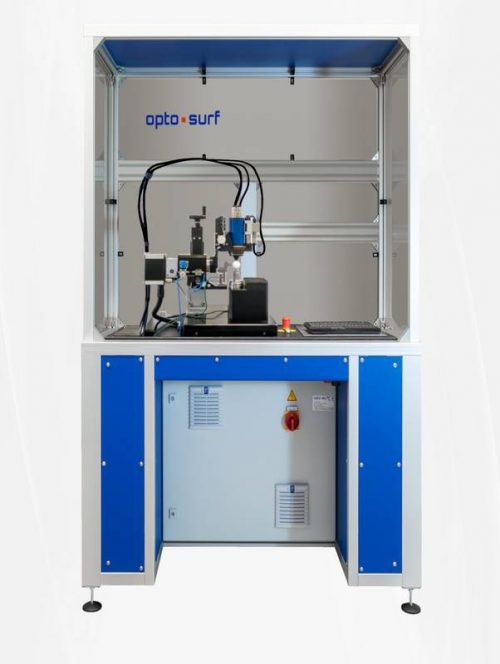
The OptoScan X-500 is equipped with a high precision automatic X axis. The sensor is moved in a linear direction and provides continuous roughness measurements. With this system configuration, quality assurance of piston rods, semi-finished products and linear movements is easy, fast and economically feasible.
OptoSurf will manufacture custom prismatic fixtures for the types of products to be measured. The software allows for easy adjustment of tolerances and measurement programs. Whether it is a robot-based or stand-alone solution, the OptoScan X series is perfectly suited for quality control.
Measurement of piston rods
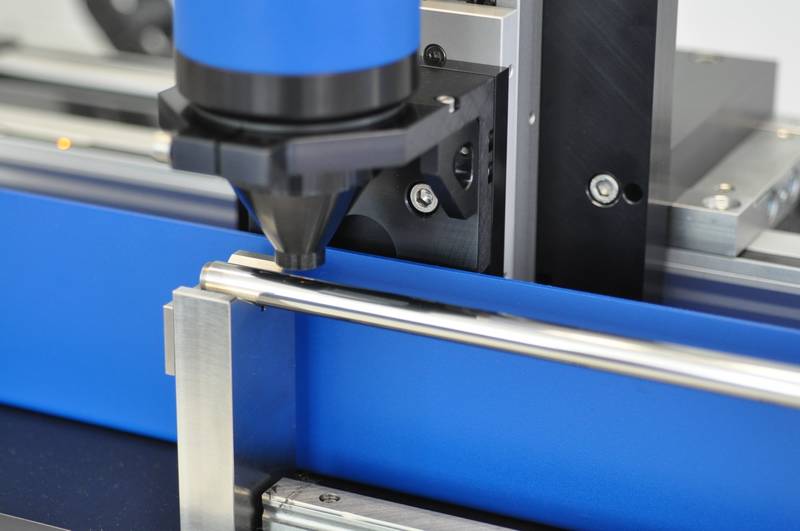
To measure a piston rod, the part is placed on prisms and the measurement is initiated. The OS 500 sensor moves in a linear direction along the predefined surface line at a speed of 100 mm/sec, while recording 1,024 individual measurement points. Roughness information is collected across the entire functional area and can be used to monitor finishing processes. Monitoring takes place directly next to the finishing machine.
The piston rods can be ground and finished in two different directions. One of the main advantages of the sensor design when measuring piston rods is its ability to detect isotropy attributes resulting from grinding directions on the surface, by rotating the sensor.

